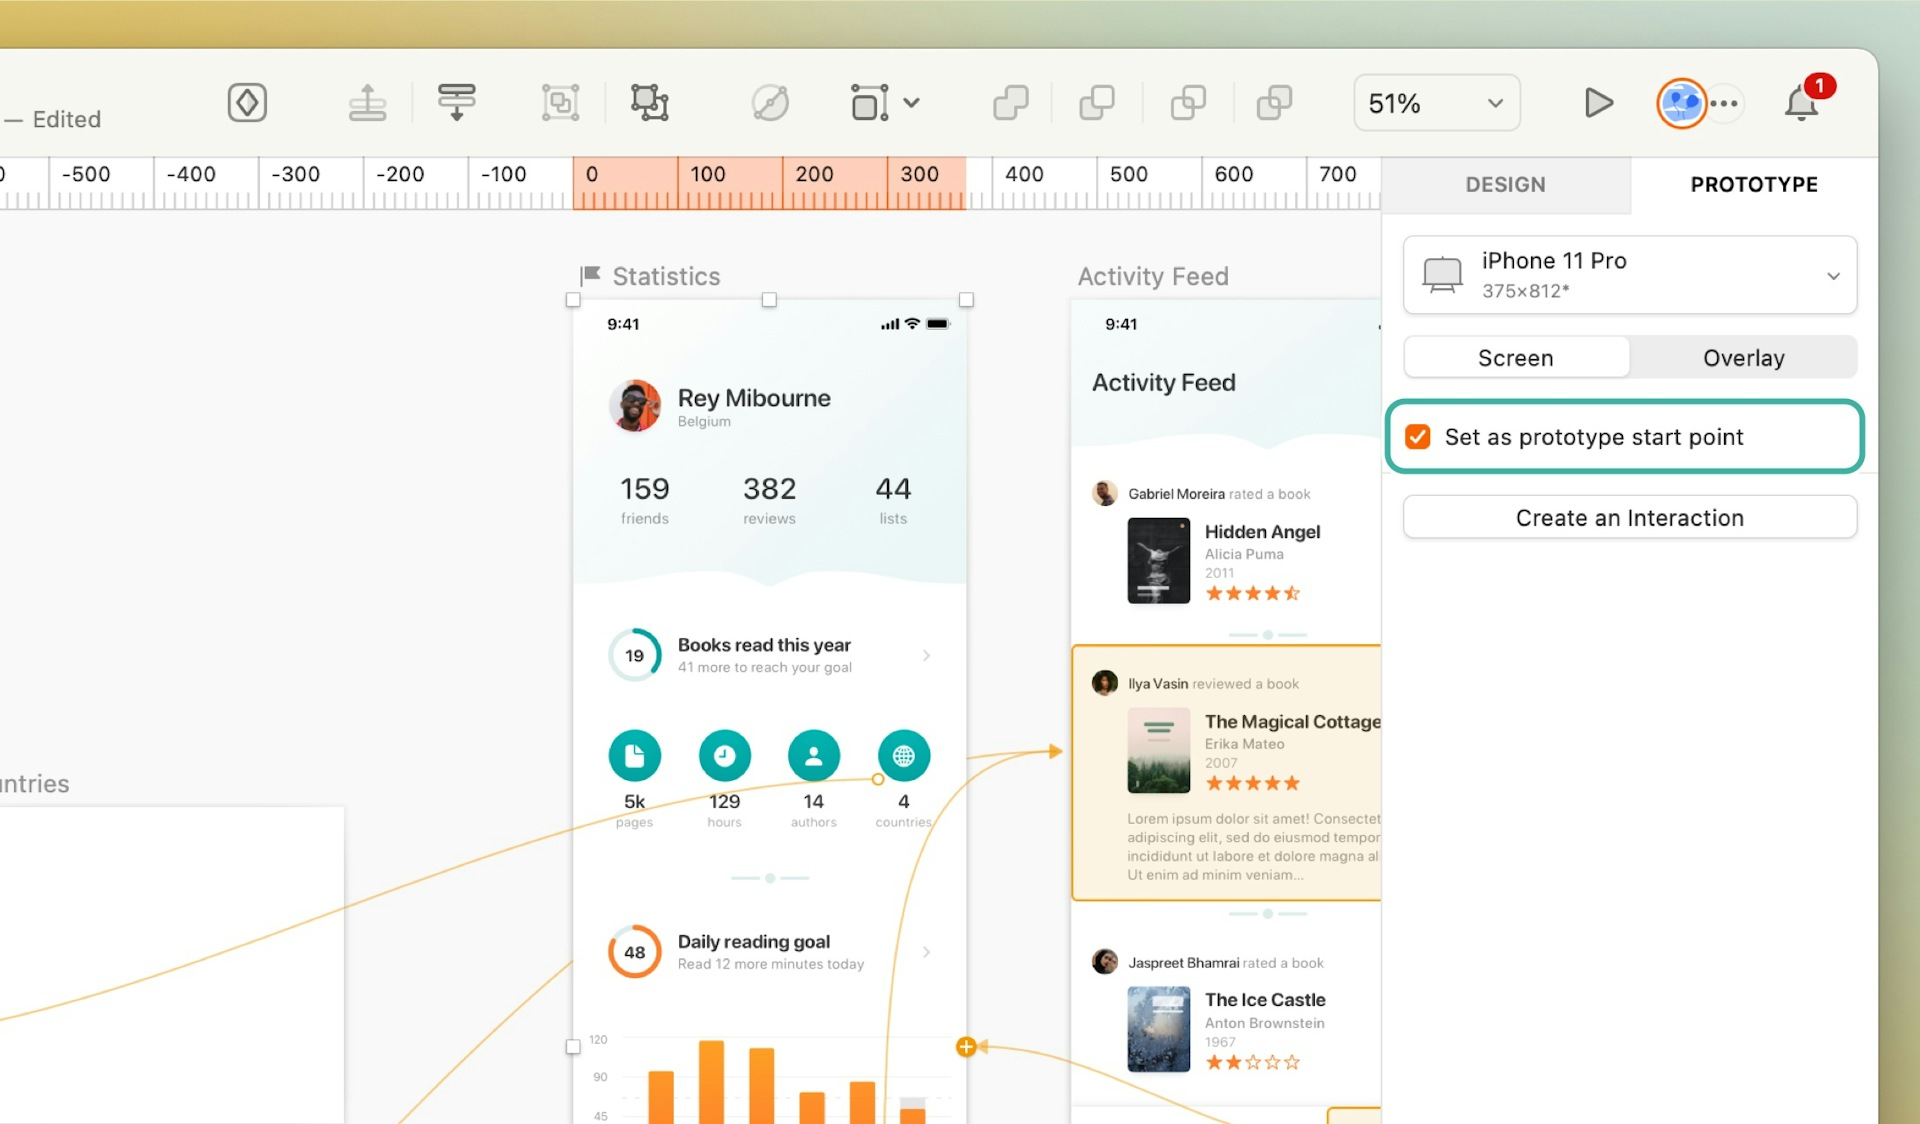
With Start Points you can choose which Artboard your prototype starts with when you preview it.
Setting a start point
To set a Start Point, open your prototype in the Preview window, select an Artboard from the drop-down menu, and click . You can also set a Start Point for a prototype in the Prototype tab of the Inspector by selecting the Set as prototype start point checkbox. Sketch will also automatically create a Start Point when you add your first Link.
How to add a prototyping Start Point to an Artboard
Whenever you preview your prototype, you’ll always start with the Artboard you’ve set as your Start Point.
To remove a Start Point, select the Artboard in the Preview window and click again, or deselect the Set as prototype start point checkbox in the Prototype tab of the Inspector.

How to Set as prototype start point for an Artboard via the Prototyping tab of the Inspector
Setting multiple Start Points
You can set more than one Start Point to guide your users through different aspects of more complex designs, such as a sign-up or user settings flow, for example.
Every time you set a new Start Point, it’ll appear as a different prototype in the same document in the web app or the iPhone app.
